It took us 7 years to finally say ‘enough is enough’ with our kitchen.
Relative to other kitchens it’s actually a fairly decent size. We could pretty much fit everything we needed into the cupboards, but everything else was impractical.
The bench space was limited because it had this useless section that ran vertically around the perimeter. I particularly felt this limitation when I was getting my bake on, with my newly discoved cake making hobby.
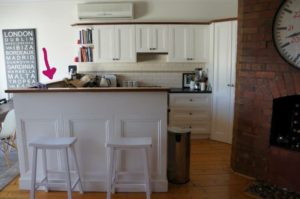
The sink was too small. It had one and a half bowls and the only thing that could really fit into the half side was a sponge or two.
And the colour was ohh-ffensive. The benchtops were typical of the 90’s reno… dark green with some noice black speckling throughout. The splashback tiles were cream with an unusually selected, ‘Christmas Holly’ feature tile that ran through the centre. Appropriate only for the festive time of year. And the cream cupboards had discoloured over time with the general kitchen grease and grime so, like my husband, were starting to go grey.
So, we had a big decision to make… Go all out and remove the kitchen and start again, or make some smaller improvements that would enhance the atheistic and functionality of the space, but keep the cost down.
I looked into various options, from a fully designed Freedom or Ikea kitchen – through to kitchen makeover companies using solutions such as resurfacing. I also looked at kitchens selling at auctions such as Fowles which was a tip off from a fellow Inner Westie.
Taking such a broad approach to investigating the various options was an important process to go through as it became clearer with every conversation what was actually possible. It also helped to inform a bit of a menu of options that were available and indicative costs. For example, in chatting to the kitchen makeover companies I was more informed around different benchtop options such as stone vs timber vs laminate. I also understood more about painting the cupboards versus spraying them and at what cost. I also understood more about what effect there would be to cornices and flooring in replacing elements of the kitchen.
With all of the facts and figures considered, we made the call to undertake a low cost, high impact makeover, and save our pennies to put in a better kitchen, in the right position of our house, when we do a major renovation.
From there, here’s what went down:
Step 1
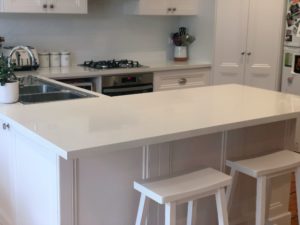
- I found the benchtop supplier we wanted to use which was Working Surfaces in Sunshine. They came with great reviews from locals.
- Michael at Working Surfaces suggested a carpenter who they commonly worked with who could assist in taking accurate measurements of the benchtop area and install them when they were ready.
Step 2
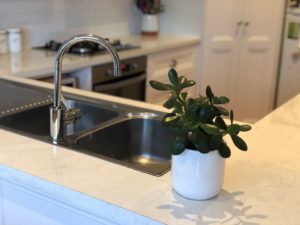
- I sourced a new kitchen sink (from Bunnings) and tap wear (from McCanns, Yarraville) that would be suitable for the space. It was important to take into consideration where the joins in the benchtop were (as it was a U-shape kitchen) to ensure the sink wasn’t too wide, or too deep to accommodate the pipes/plumbing underneath. Knowing the options for placement of the tap was also a key consideration here to choose a right or left-hand bowl.
- I also sourced a new cooktop. This is not something I had thought to do as it didn’t look too shabby, but am so glad I was convinced to do so. It would have ruined the overall effect of the kitchen if we reinstalled the old one, even if it didn’t look that bad at the time. There was a big sale on at Harvey Norman at the time so all the stars aligned.
- I then had the sink, cooktop and tap wear ready to show the carpenter when he came to take measurements to ensure I had time to source alternatives if he saw their being an issue with either. Thankfully there wasn’t!
Step 3
Go time.
- When I was notified that the new benchtops were ready for installation, I brought my trusty handyman in to remove the current benchtop and the splash back tiles ready for both to be installed.
- The carpenter then came in and installed the new benchtops, sink, taps and cooktop.
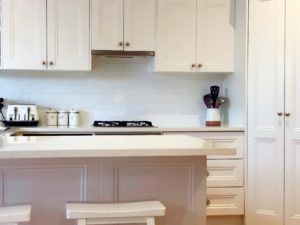
- The tiler then came in to install the fresh new white tiles that I sourced from Western Distributors. (Side note, I was originally unsure whether we should get new tiles as I thought that would be crazy expensive and it would be cheaper to resurface or paint the tiles. Turns out it was the most inexpensive and high impact option. I only needed one box of tiles which was about $100 and half a day of work for the tiler, which was completely reasonable. Plus painting over the Christmas Holly tiles would have looked ridick.)
Step 4
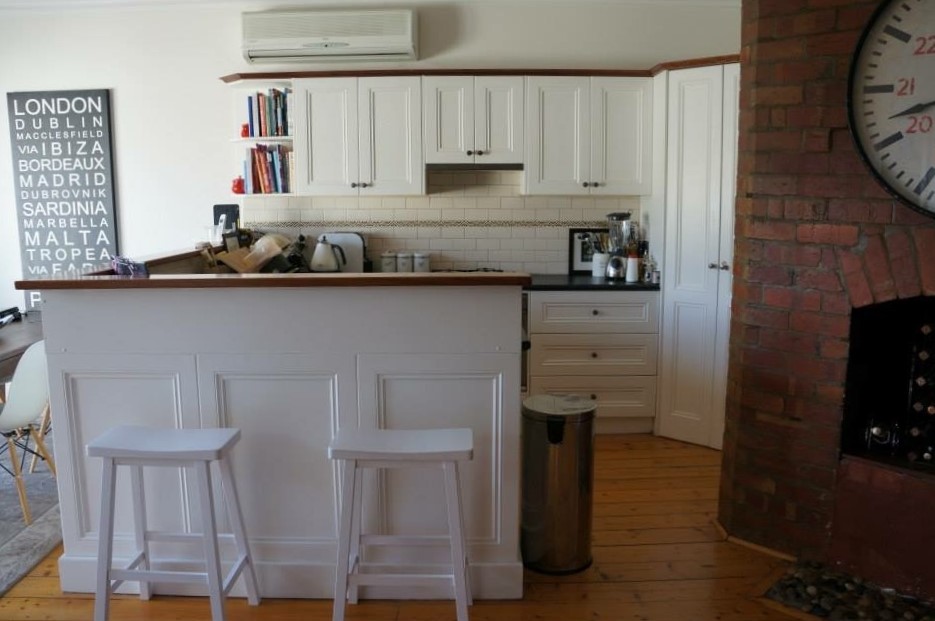
- After dismissing the cost of respraying the cupboards in the research phase (we only really needed to get by for another 5 or so years with this kitchen until we did a major reno, and it was at least $4k to spray them), I dusted off the painting tools and took to work giving them a new lease on life. I actually can’t believe how well they came out. They looked as good as new with a light sand, undercoat and two coats of Dulux low-sheen (in Lexicon half strength).
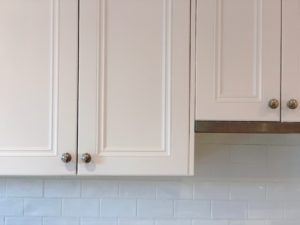
The final pièce de résistance was the addition of some new knobs and handles. I found the perfect range to suit the Shaker style cabinetry at Schots Emporium. I bloody love that place.
I easily replaced the knobs and got my handyman to pop back in to install the handles. My hubby would even admit that he was incapable of doing even that small job well! They are the perfect finishing touch to the make-over.
All in all, we pulled off this makeover for under $3000 and the result speaks for itself!


Always so hard to know where to start and stop before a bigger reno down the track – it’s our constant dilemma! I love what you’ve done in your kitchen. I bet it has made a big difference to it feeling like part of the adjoining space. How much difference does it make painting the wood strip along the top?! Amazing
Thanks Ellise! It sure is. We’ve been sitting on our hands not wanting to spend too much money but it is worth it to fall back in love with your home. That’s how I’m feeling about our place right now!